Professional/App & device controls

For clinicians and practice teams

App & device controls.A clear start at home.

Help patients choose a control option, understand their settings and leave with the right instructions. Every MV device works without a phone; the optional MV app adds local Bluetooth control and pattern customization.

A simple hand-off. A confident start.
  1. 01 / Show

    Show the buttons.

    Start with the controls on the exact model.

  2. 02 / Save

    Make the settings clear.

    If using the app, confirm the pattern saved to the device.

  3. 03 / Check

    Ask for a demonstration.

    Check that the patient can repeat the steps.

Control, not tracking.

The MV app collects no usage data. It does not provide a clinician dashboard or a session log.

  • No phoneneeded for on-device use
  • Up to 12patterns stored on each device
  • Local Bluetoothfor optional app control
  • No usage datacollected by the MV app

The sixty-second hand-off

What to say. What to show.

Use this short script after an individual suitability review. Add the patient’s agreed home-use plan separately; this is a controls explanation, not a treatment prescription.

A script to adapt to the individual

“This is your device. It works with its own buttons—you do not need a phone. Let me show you how to switch it on and off, adjust intensity and select a pattern.

If you choose to use the MV app, we can check the settings together. Use the device only as agreed with your clinician. The app does not record your sessions.

If your care plan includes monitoring, we will show you the separate reporting tool. Here are your model’s instructions and support details. Could you show me the steps back?”

Complete the hand-off: document the agreed model, settings, frequency, duration, follow-up and any stop or contact instructions in the clinical plan. The patient’s care team—not the app’s pattern library—sets these.

Choose the right interaction

Three options. No required app.

Start with the controls the patient can use comfortably. Demonstrate the options with the individual rather than assuming one will suit everyone.

01 / Built-in controls

On the device.

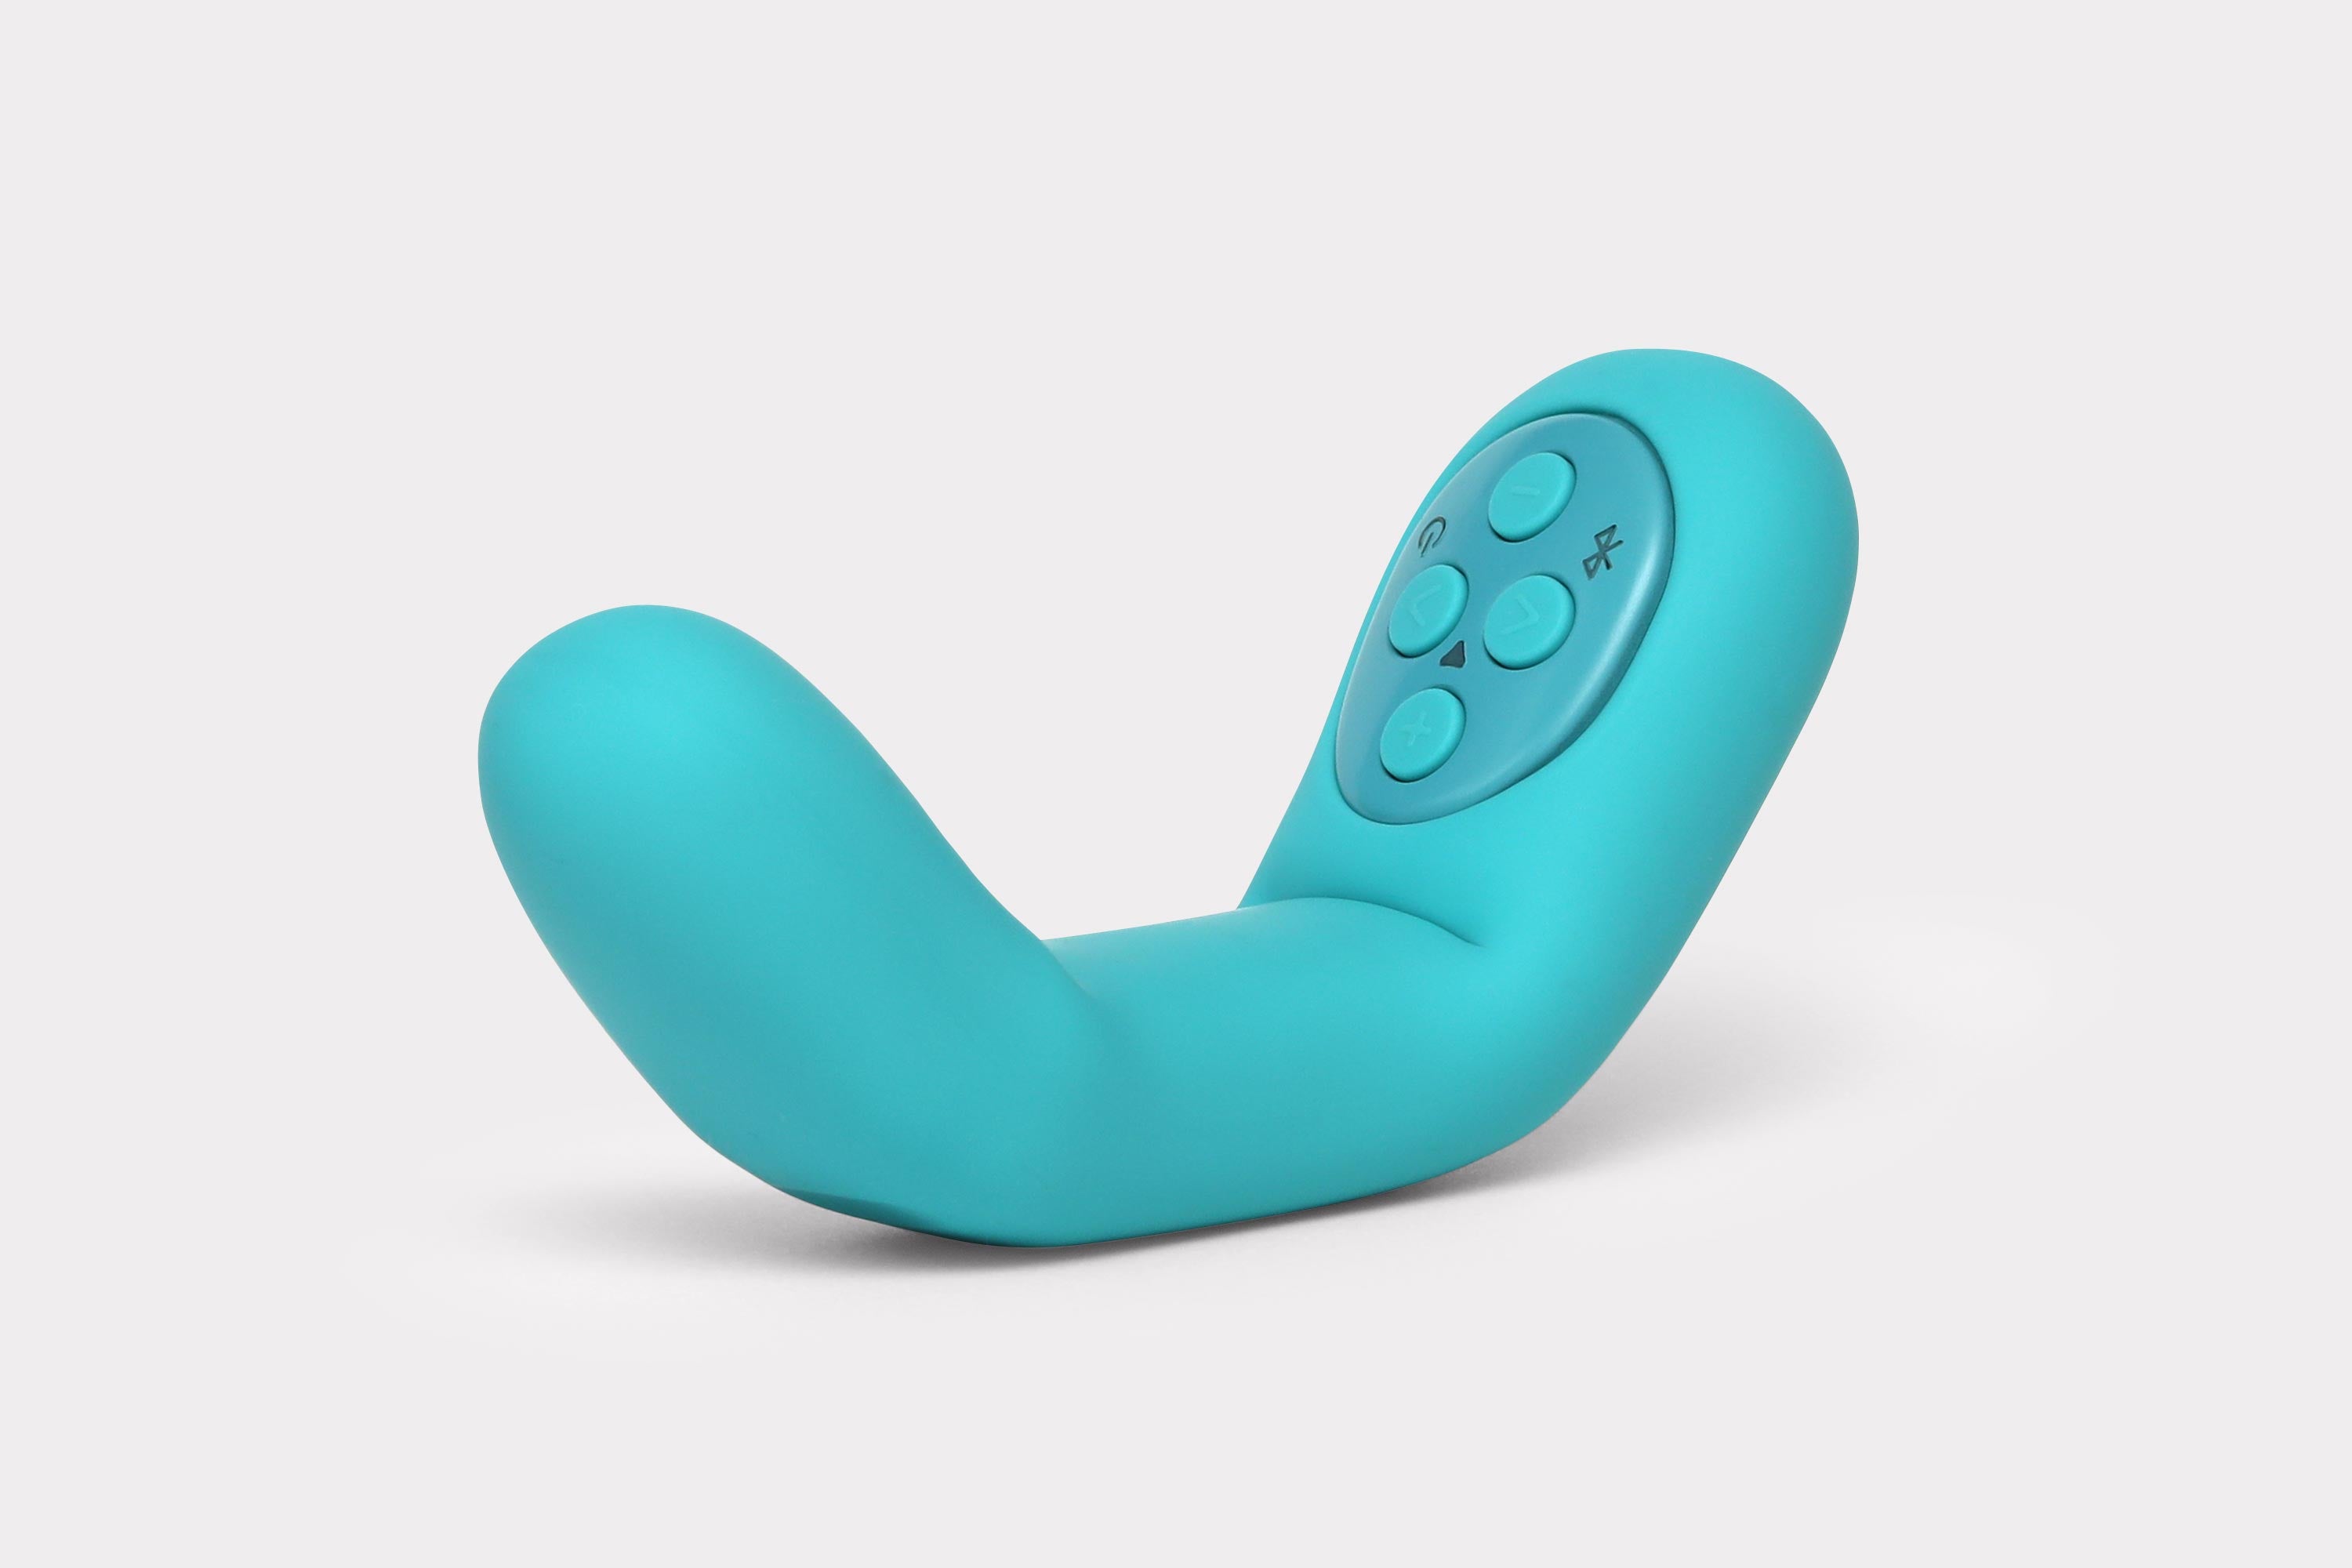
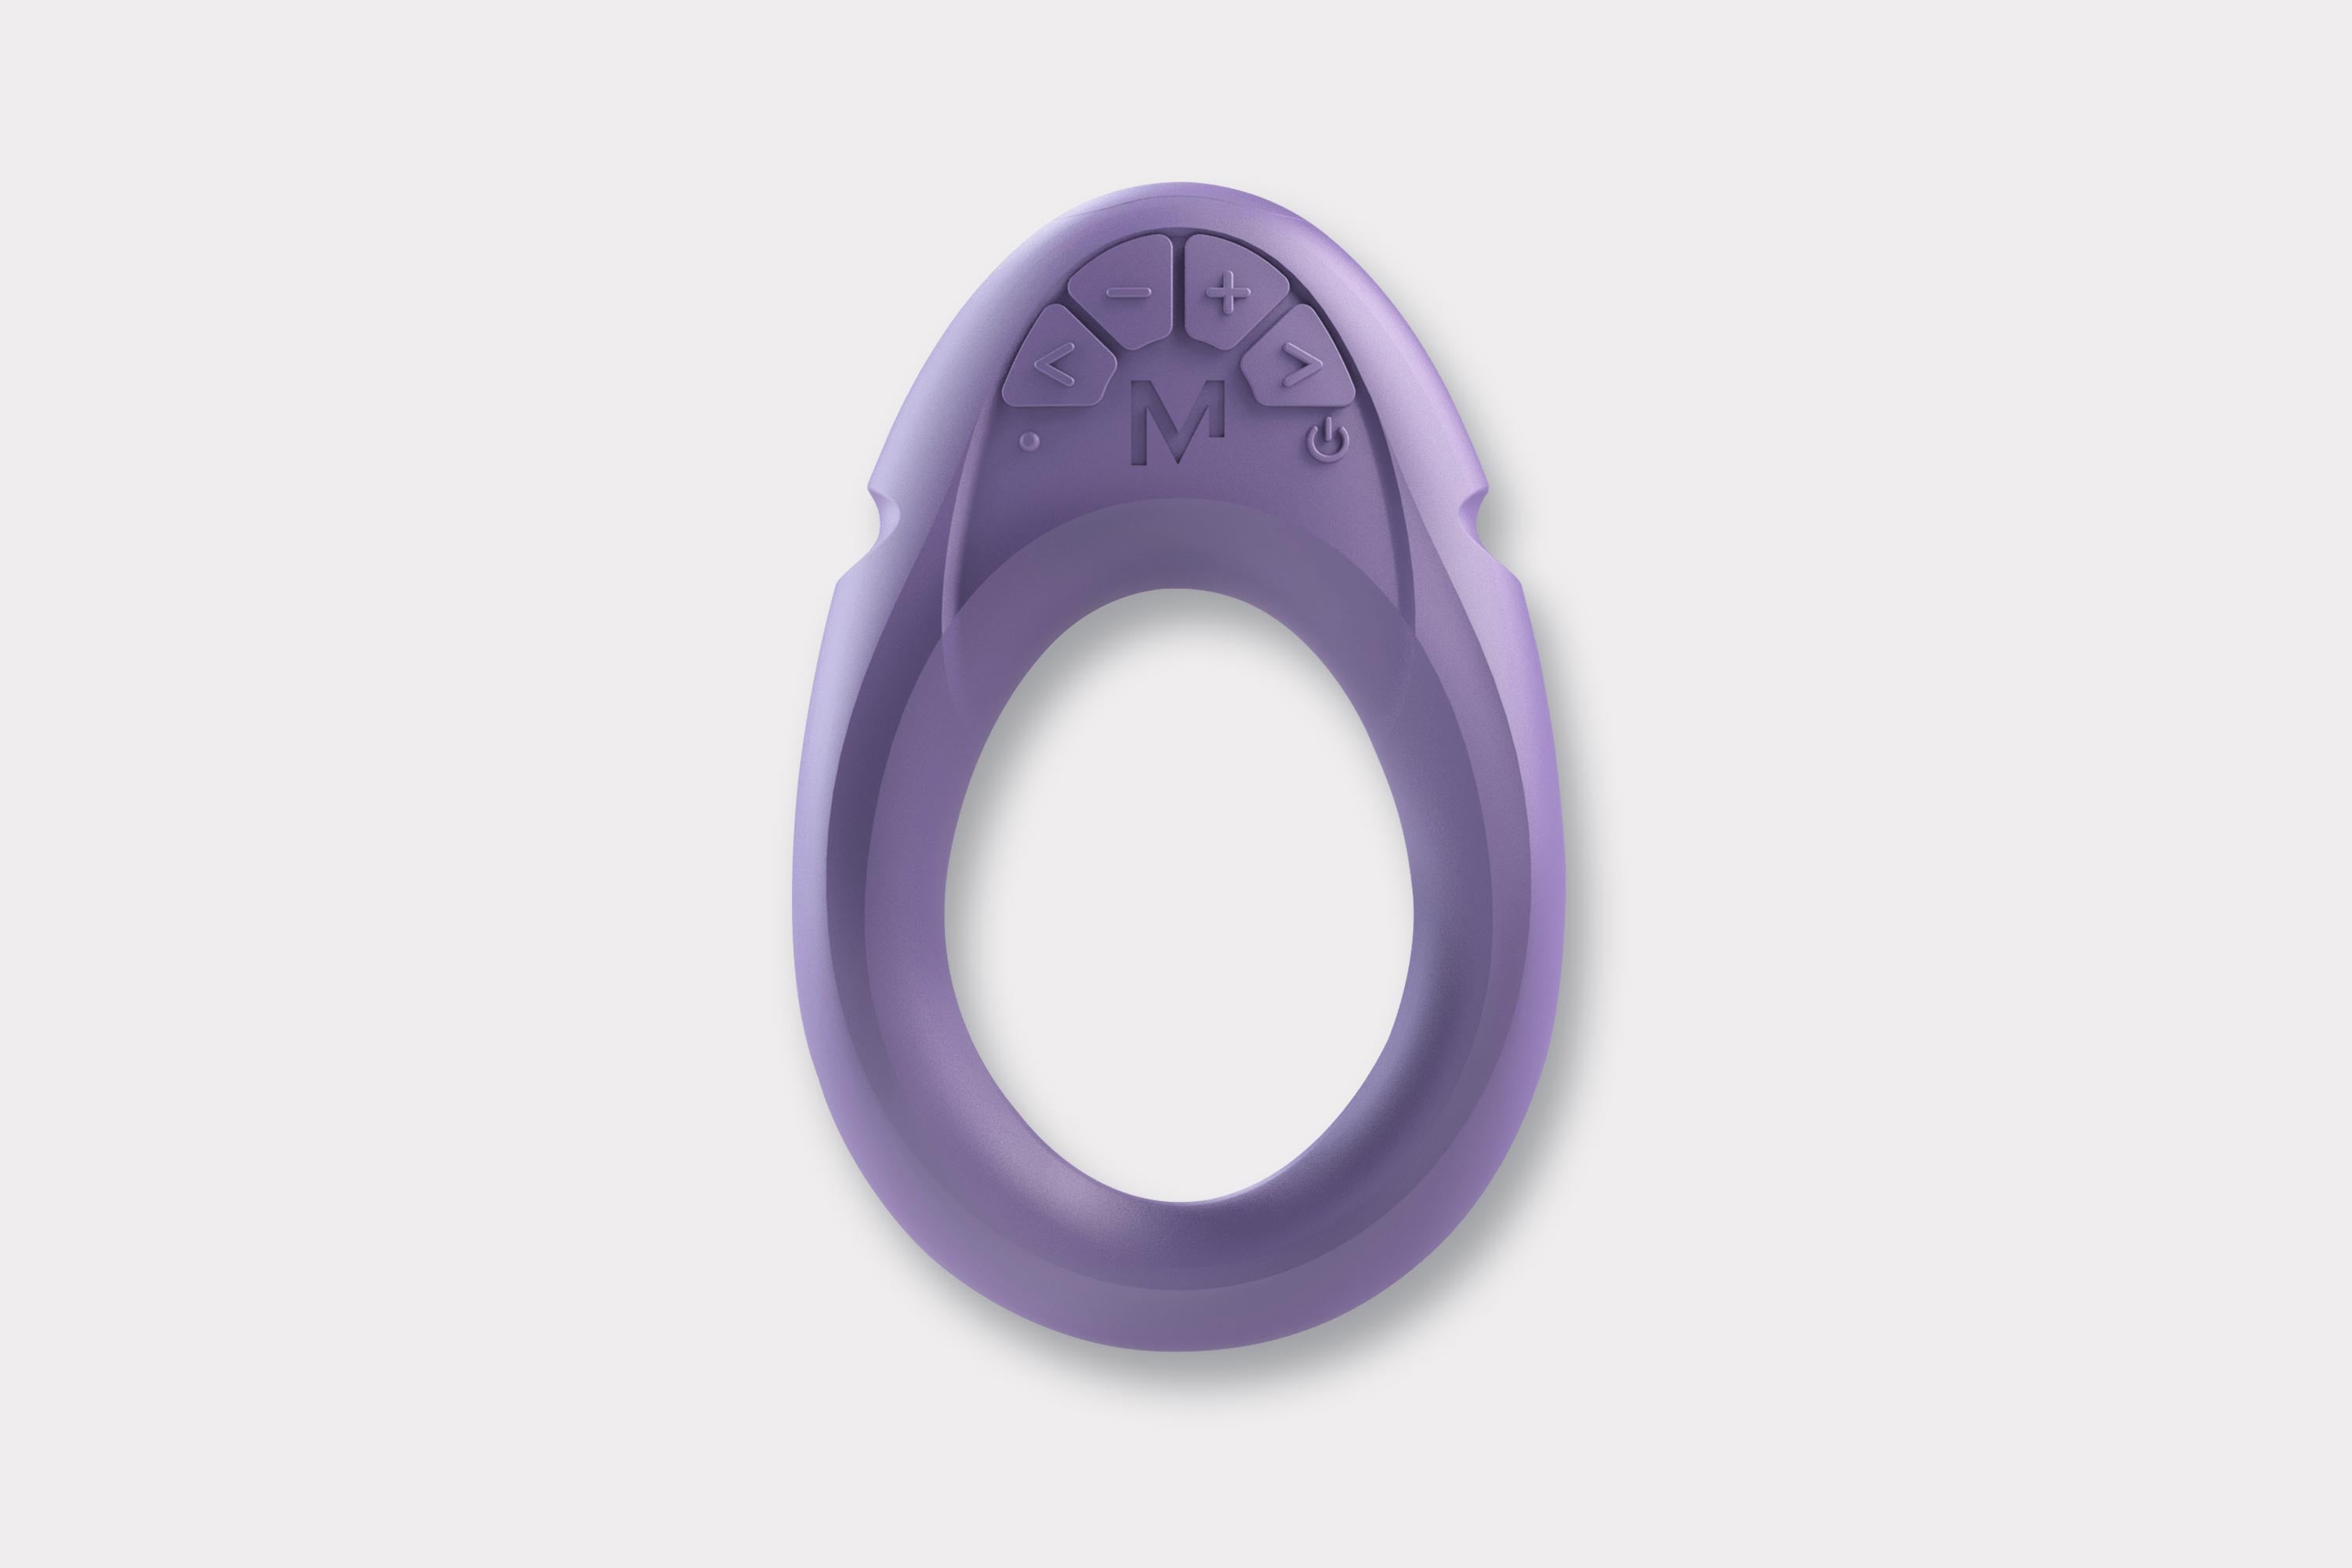
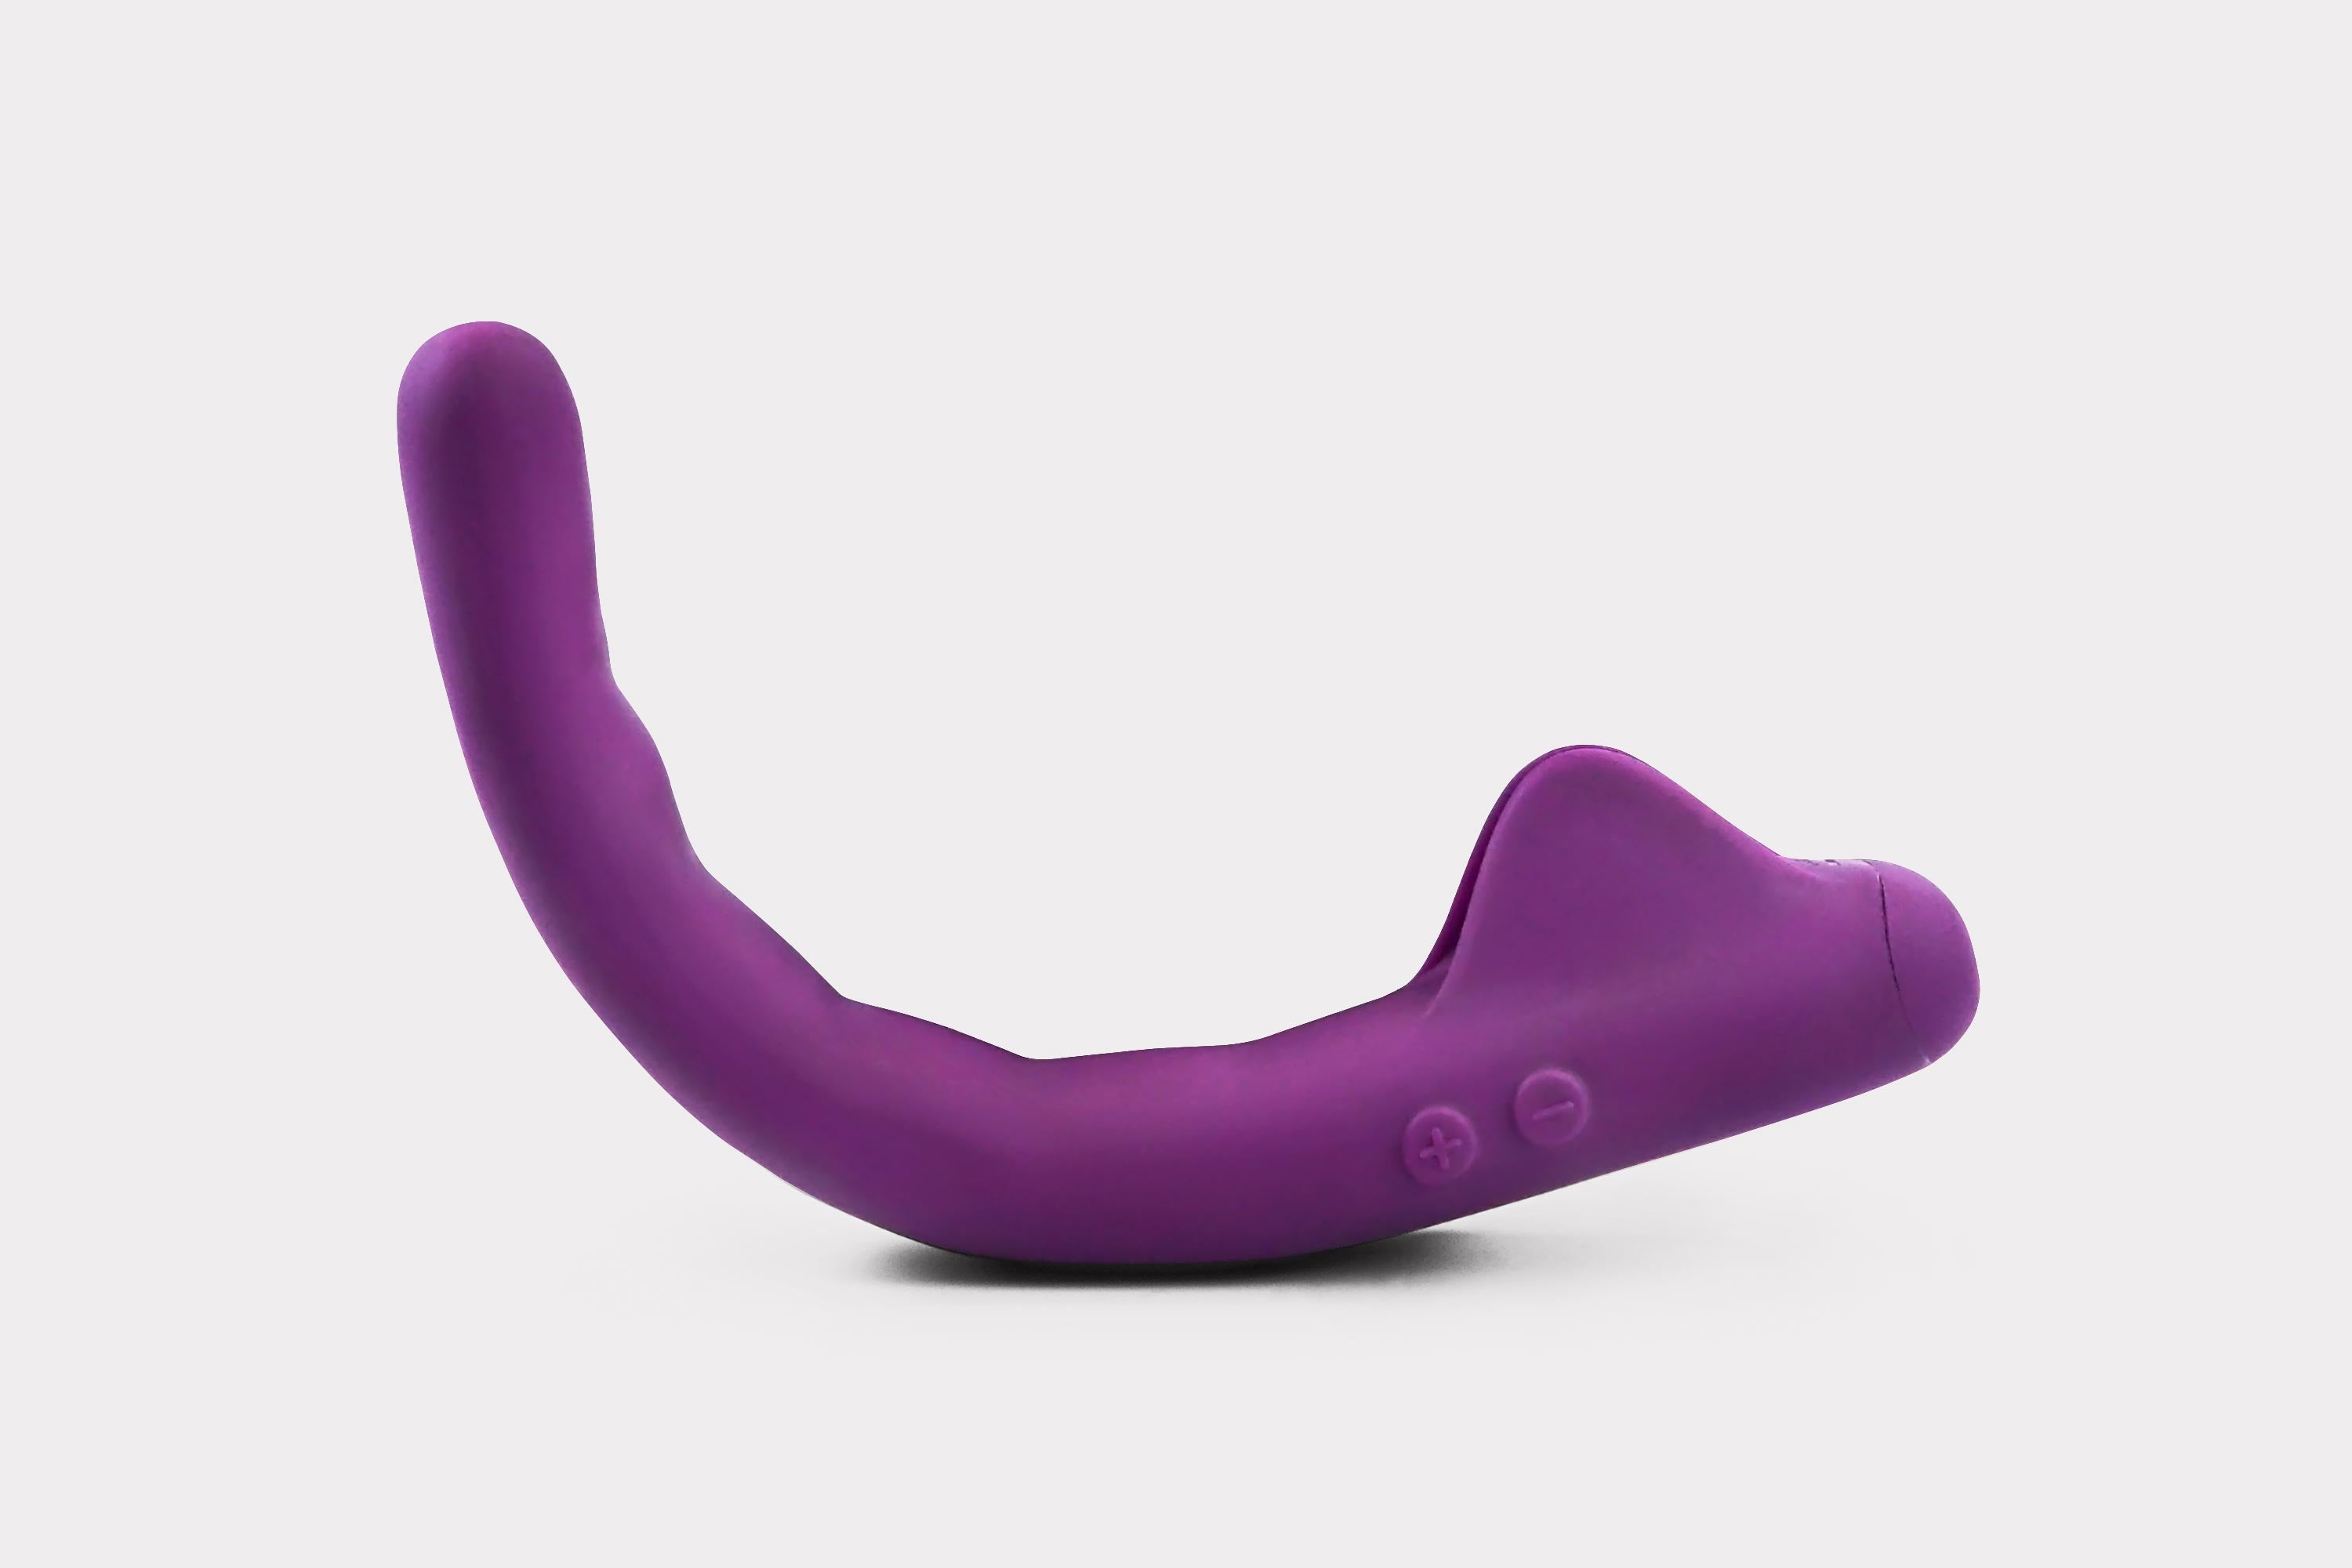
Physical buttons control power, intensity and stored patterns. No smartphone is needed. Button functions and positions vary by model; Tenuto Mini uses single presses for intensity and double presses for pattern changes.

See model-specific instructions

02 / Optional Bluetooth app

In the MV app.

Connect locally over Bluetooth to control the device and create, add, remove or rearrange patterns. Each of the six devices can store up to 12 patterns for selection from its own buttons.

Set up the connection

03 / Separate accessory

With the Remote.

The separate Remote accessory can control up to three paired MV devices, individually or together, without a phone. Confirm the selected channel before changing settings. Its cleaning requirements differ from the devices.

Open the Remote instructions

Connect together at hand-off

A local Bluetooth connection.

Allow time to test the connection and demonstrate on-device use. Follow the exact guide if a button sequence or indicator differs.

  1. Install the official app.

    Use the store for the patient’s phone and check the current compatibility listing. Review any permission prompts together; Bluetooth permissions depend on the operating system.

  2. Charge and switch on.

    Follow the model’s charging instructions. Keep the phone nearby with Bluetooth enabled. Confirm the device is on before starting pairing.

  3. Enable device Bluetooth.

    Use the Bluetooth button sequence shown in the model’s guide. The six supplied device guides describe a blue flashing indicator after Bluetooth is activated.

  4. Choose the exact model.

    In the app, select the device name and use “Tap to Connect”. Check the generation too—for example, Tenuto 2 is not the earlier Tenuto.

  5. Test control, then check the device.

    Confirm the app controls the intended device. If you change its stored patterns, finish the transfer and check the chosen pattern from the device’s own buttons before the patient leaves.

Interface details can change. The supplied guides describe swiping up for live control and down for the pattern library and creation tools. Follow the current on-screen prompts; ask support if a step no longer matches.

From an agreed plan to a usable setting

Choose. Save. Check. Explain.

A saved pattern is a device setting, not a complete clinical protocol. Keep the agreed pattern separate from the frequency, session duration, positioning and follow-up in the care plan.

  1. 01

    Choose together.

    Where a clinician recommends a pattern, identify the correct setting with the patient. Do not infer treatment suitability from a pattern’s name.

  2. 02

    Save to the device.

    Use the app’s pattern tools when customization is needed. Complete the transfer; the supplied guides describe storage for up to 12 patterns.

  3. 03

    Check without the phone.

    Disconnect the app and ask the patient to select the saved pattern from the device’s buttons. Confirm that they can also reduce intensity and switch off.

  4. 04

    Explain the home plan.

    Record how to identify the setting, alongside the clinician’s separate use and review instructions. Recheck after a change to patterns or settings.

Need help matching a research setting? Ask MV for model-specific support if a published study or protocol does not identify an available pattern clearly. Review the original study and the device instructions with the clinical team before making a recommendation.

Model-specific instructions

The right controls for the exact device.

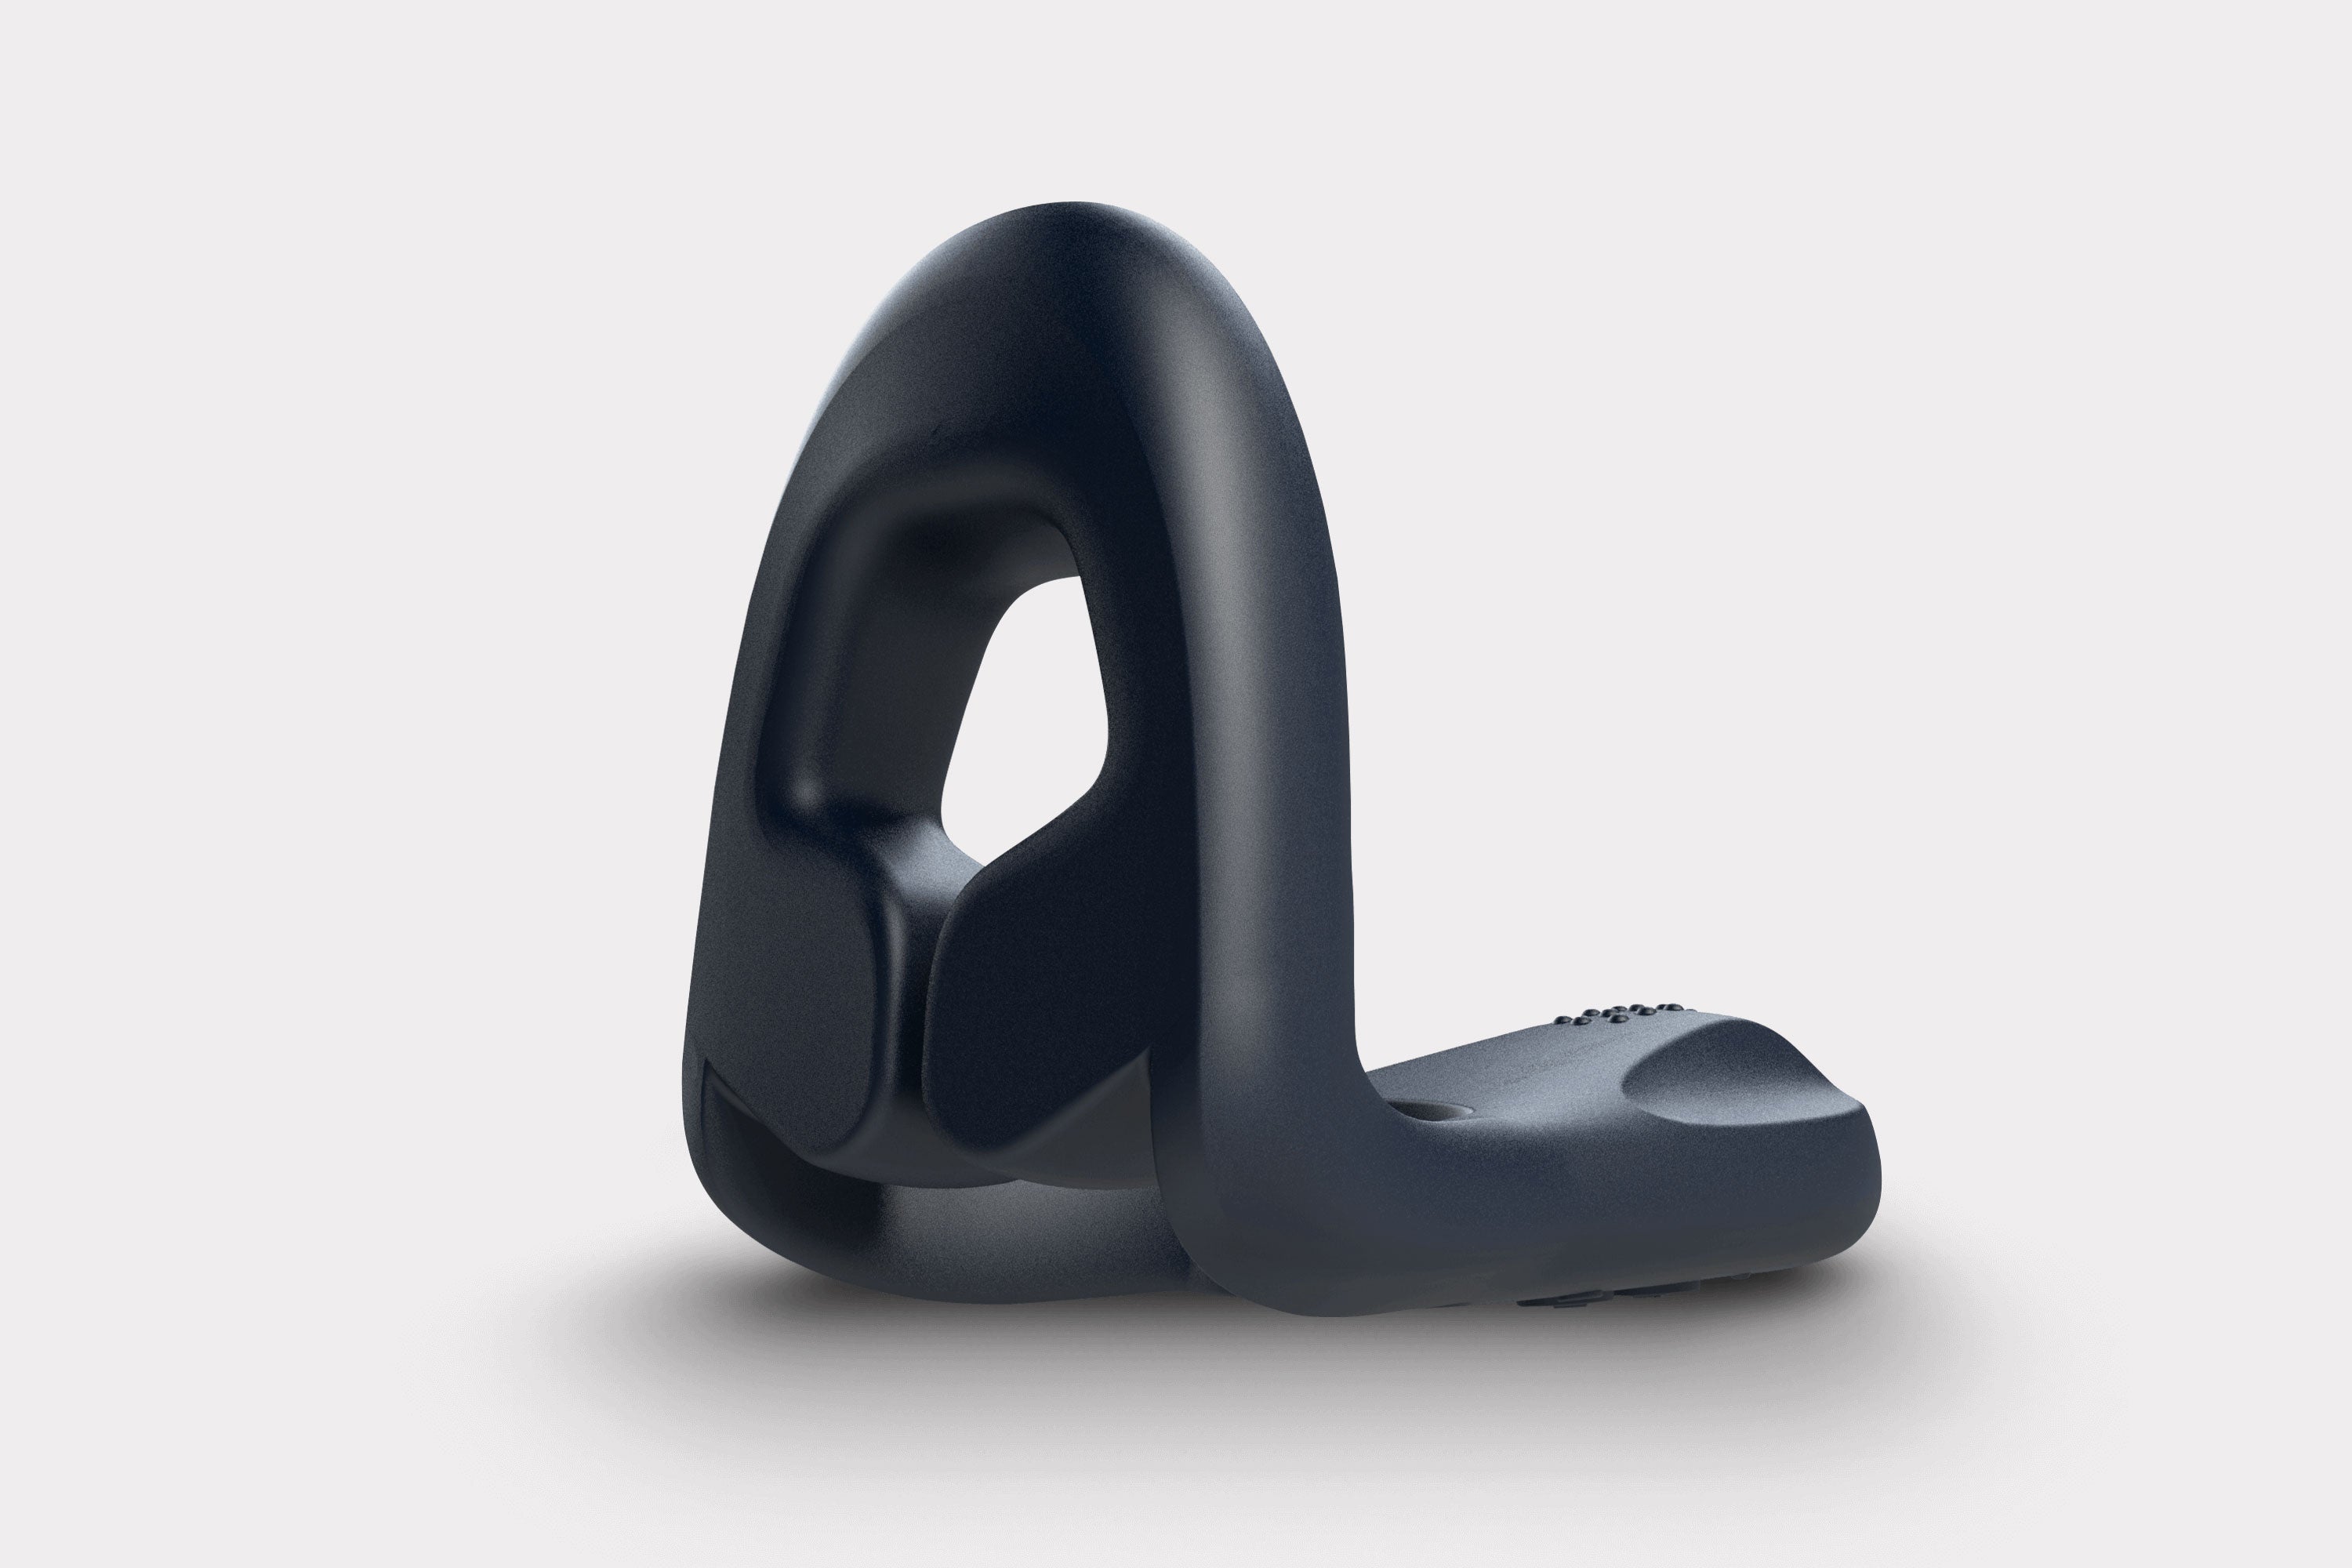
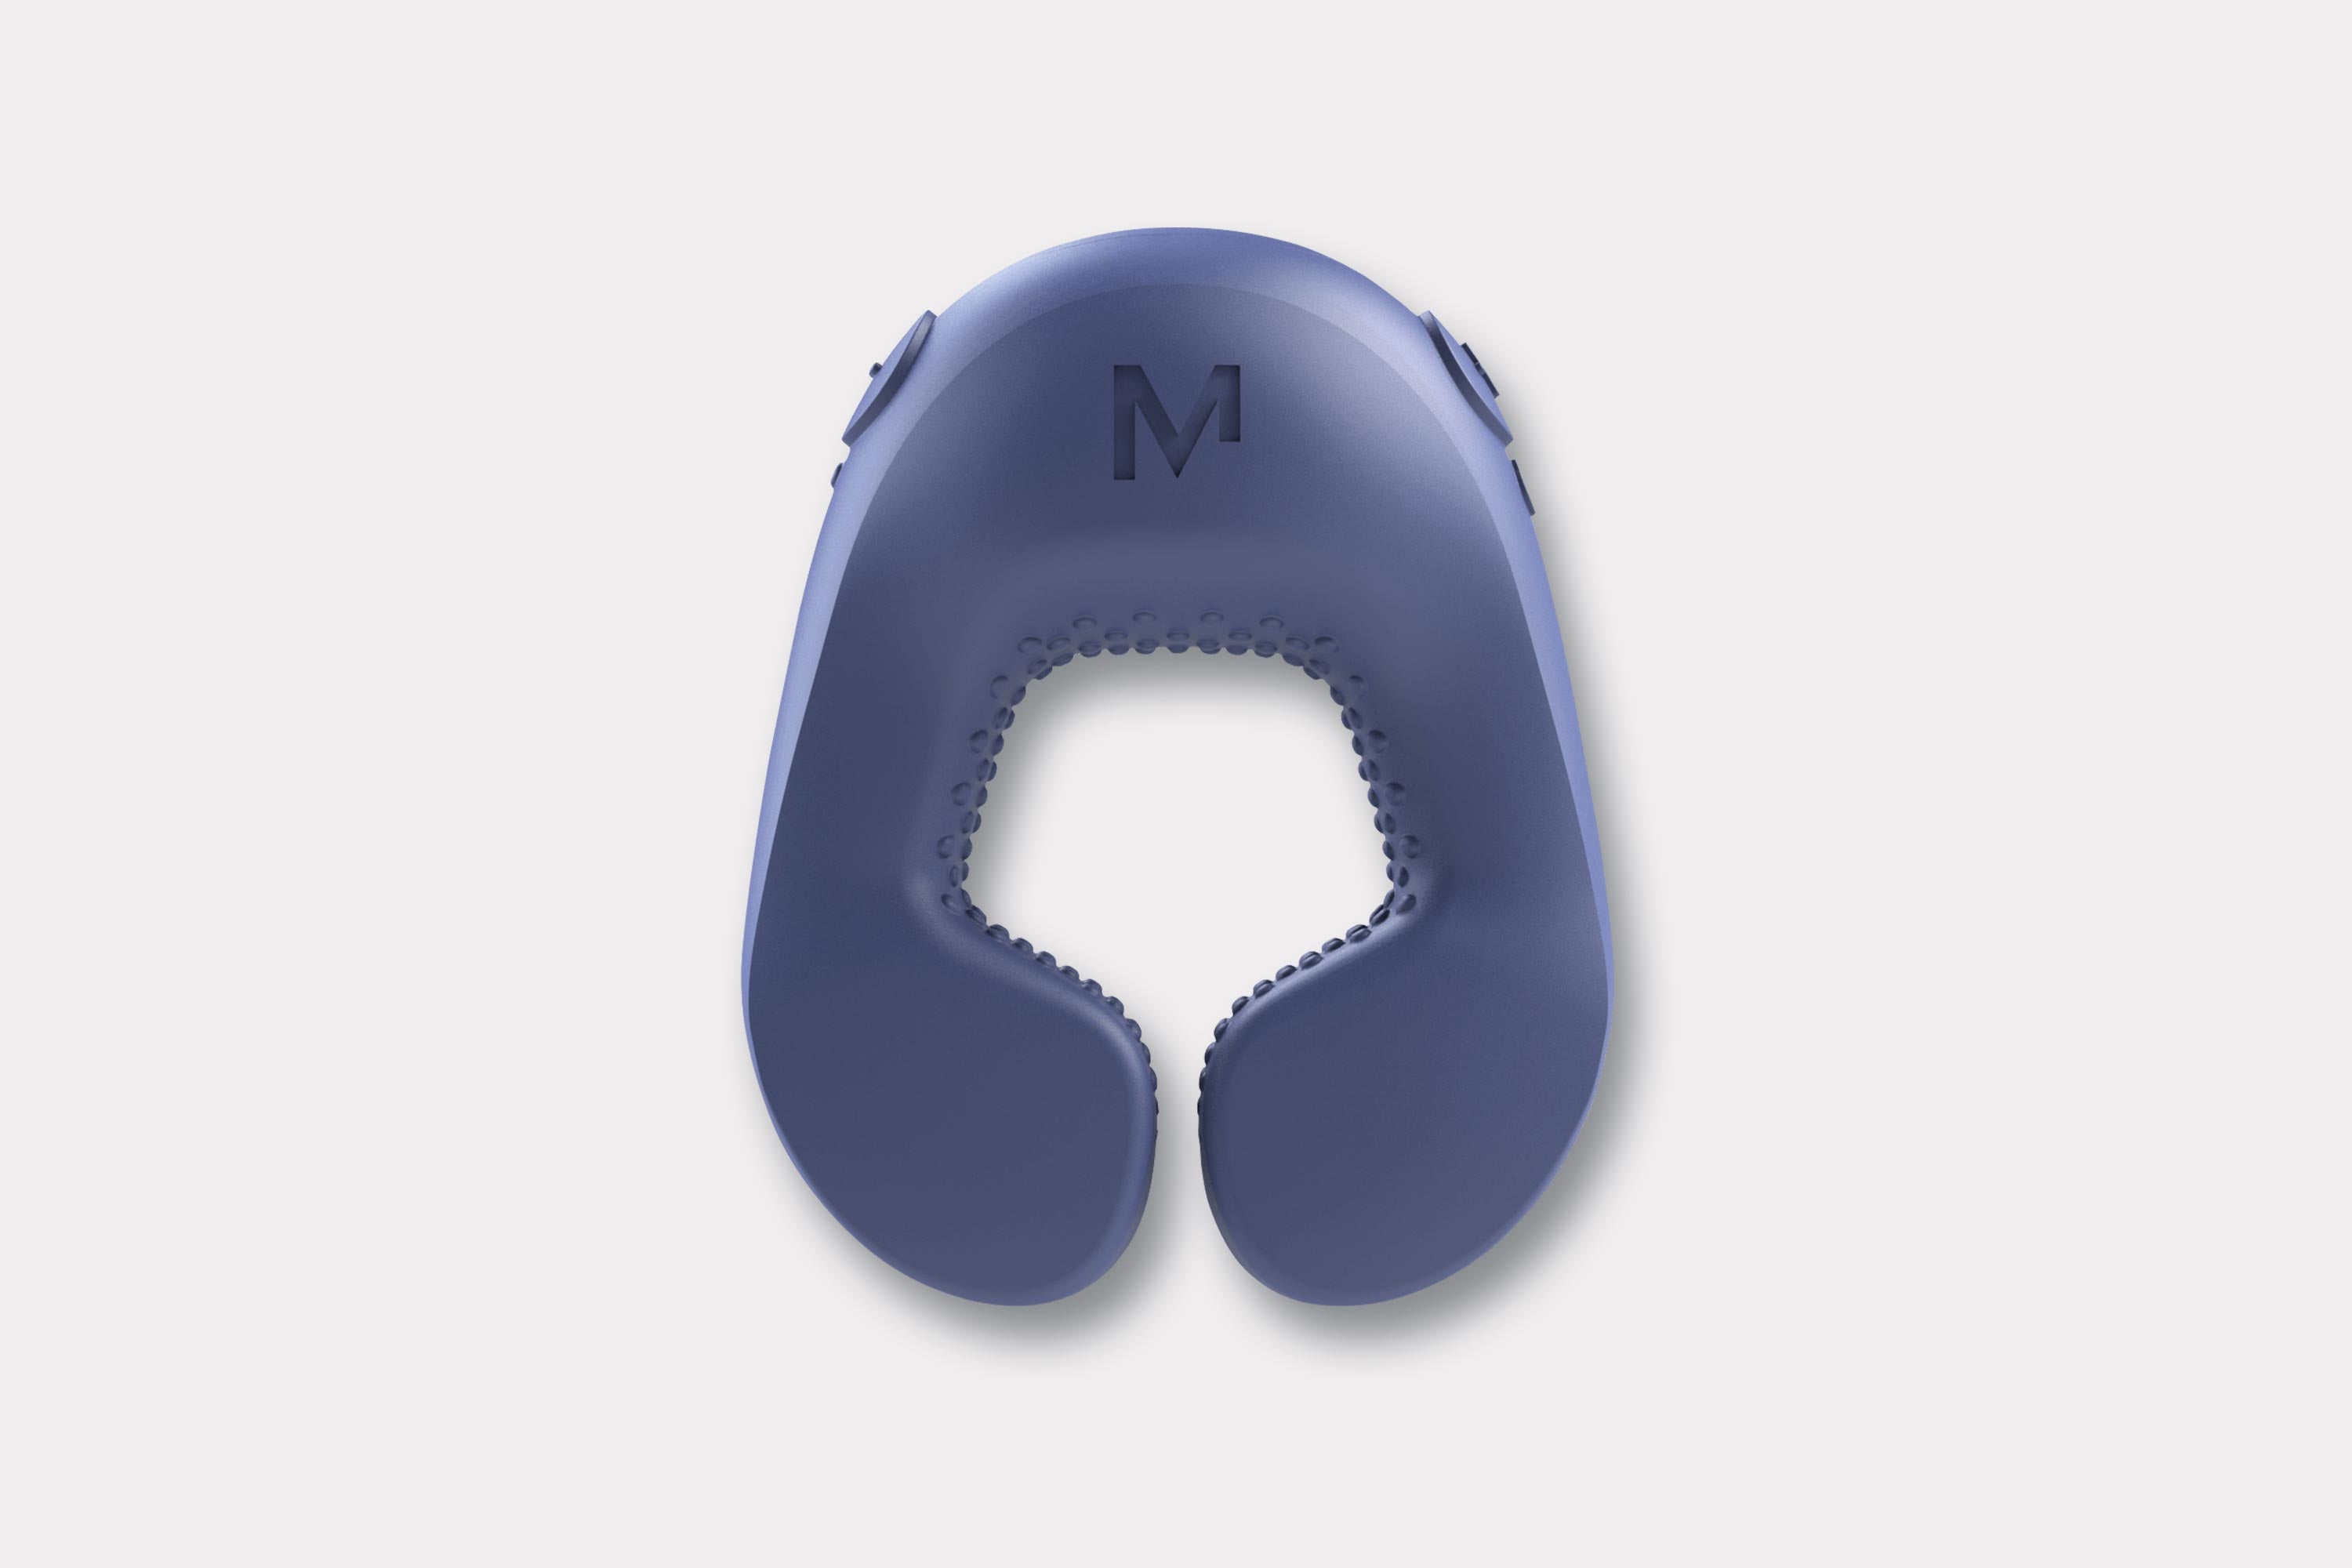
Open the original illustrated controls page or download the original one-page quick start to give with the device. Match the model name and number before demonstrating the controls.

Original supplied PDFs, unchanged. “PDF p. 3” is the viewer page containing the English illustrated controls; printed booklet numbering differs. If your viewer does not jump to it, select page 3 manually. Quick starts supplement the full user guide.

Remote accessory · Model 6905

Its own controls. Its own care instructions.

Remote controls · PDF p. 3 ↗Remote quick start ↓

For programs that include monitoring

Two tools. Two different jobs.

Make the distinction explicit at onboarding. A patient should know which tool controls the device and which tool, if any, sends information to the care team.

Device control

MV app: control and patterns.

The MV app does not collect or transmit device-usage data and does not provide a clinician dashboard, an adherence record or an EHR connection. App control is optional.

If monitoring is included

Separate platform: reporting and review.

For a patient-reported monitoring program, agree what the patient records, when and in which platform. This may include session date, duration, settings, response and problems, depending on the clinical plan and the platform’s requirements.

Patient records agreed informationSeparate monitoring platformResponsible care team reviews
Explore the RTM workflow and requirements

Demonstrate the complete route: submit a test report in the chosen platform, confirm that the responsible team can see it and explain response times and urgent-contact arrangements. The platform and the service need their own technical, privacy, clinical and payer review; logging alone does not establish RTM eligibility.

Questions clinics ask

Practical answers, in plain sight.

Help with connection, cleaning, access needs and everyday operation. Keep the exact model’s guide close at hand.

What if the patient has no smartphone?

Every model can be used from its own buttons with its installed patterns. The app and Remote are optional. Demonstrate the on-device route and give the original model guide.

What if Bluetooth will not connect?

Check charge, power, the device’s Bluetooth indicator and the exact model selected in the app. Review the phone’s Bluetooth and app permissions. Retry using the guide; if it still fails, contact support with the details below. Do not open the device.

Which models have a button lock?

The supplied guides document locking for Crescendo 2, Poco, Legato, Molto and Tenuto 2. Follow each guide’s illustrated combination. The supplied Tenuto Mini guide does not document a lock; do not apply another model’s sequence.

What if the patient has reduced dexterity or vision?

Try the actual buttons, optional app and Remote with the individual. Check grip, reach, visibility, comfort and the ability to switch off reliably. Do not assume the app or Remote provides a specific accessibility feature without testing it.

How are the six devices cleaned?

Their guides instruct cleaning before and after every use with soap and water or the specified specialized cleaner. Follow the exact model’s instructions and inspect it for damage. See device care and handling.

Is the Remote cleaned in the same way?

No. The Remote guide says to wipe its outer surfaces with a slightly damp cloth. Do not splash water onto it or submerge it. Read the original Remote guide.

Can one unit move between patients or from demo stock to dispensing?

Use a patient-dedicated device. Keep handling-only demonstration stock clearly labeled and separate from devices supplied for patient use. A home cleaning instruction is not a validated clinical reprocessing procedure. Never dispense a used demonstration unit.

What should we do after an app or firmware update?

Follow the current update instructions and check the device’s operation afterward. Reconfirm any saved patterns and the patient’s ability to select them. Do not promise that every setting will persist through every update; contact support if behavior changes.

Privacy, clearly stated: the developer’s current Apple and Google store disclosures say no data is collected. Those are developer declarations, not independent certifications. Apple listing · Google listing.

A five-minute staff walkthrough

Prepare the people making the hand-off.

Use a clearly labeled, handling-only demonstration unit. Keep it separate from patient stock. Extend the session whenever someone needs more time.

  1. 01

    Identify and operate.

    Check the model, find its guide and rehearse power, intensity and pattern selection. Demonstrate the documented lock only where the model supports it.

  2. 02

    Connect and confirm.

    Practice Bluetooth setup on the exact model. Check a saved pattern from the device buttons, then rehearse the no-phone explanation.

  3. 03

    Close the hand-off.

    Explain charging and cleaning, provide the correct original quick start and ask for a demonstration back. If monitoring is offered, rehearse the separate reporting steps too.

Keep roles clear: staff can explain operation and route setup questions to product support. Individual suitability, symptoms and changes to treatment belong with the responsible clinician.

Professional product support

Need a hand with setup?

Send a short description of the issue to support@mv.health. Keep patient records, identifiable health information and intimate photographs out of support messages.

Email product support

Include the details that help us help.

  • Exact device name and model number.
  • Phone model, operating system and app version, if relevant.
  • Indicator behavior and the step where setup stops.
  • Checks already tried and whether on-device controls work.

Use the original model guide for charging, cleaning and controls. For clinical questions, contact the treating clinician. Original guides and resources · Privacy and enquiries.